Blood Grouping Using Tile Method – Observation from Hematology Lab Posting
I'm a 3rd year Medical Laboratory Science (MLS) student currently on hematology lab posting.
Today we learned blood grouping using the tile method.
Complete Procedure:
- Blood grouping detects antigens on RBCs and antibodies in plasma.
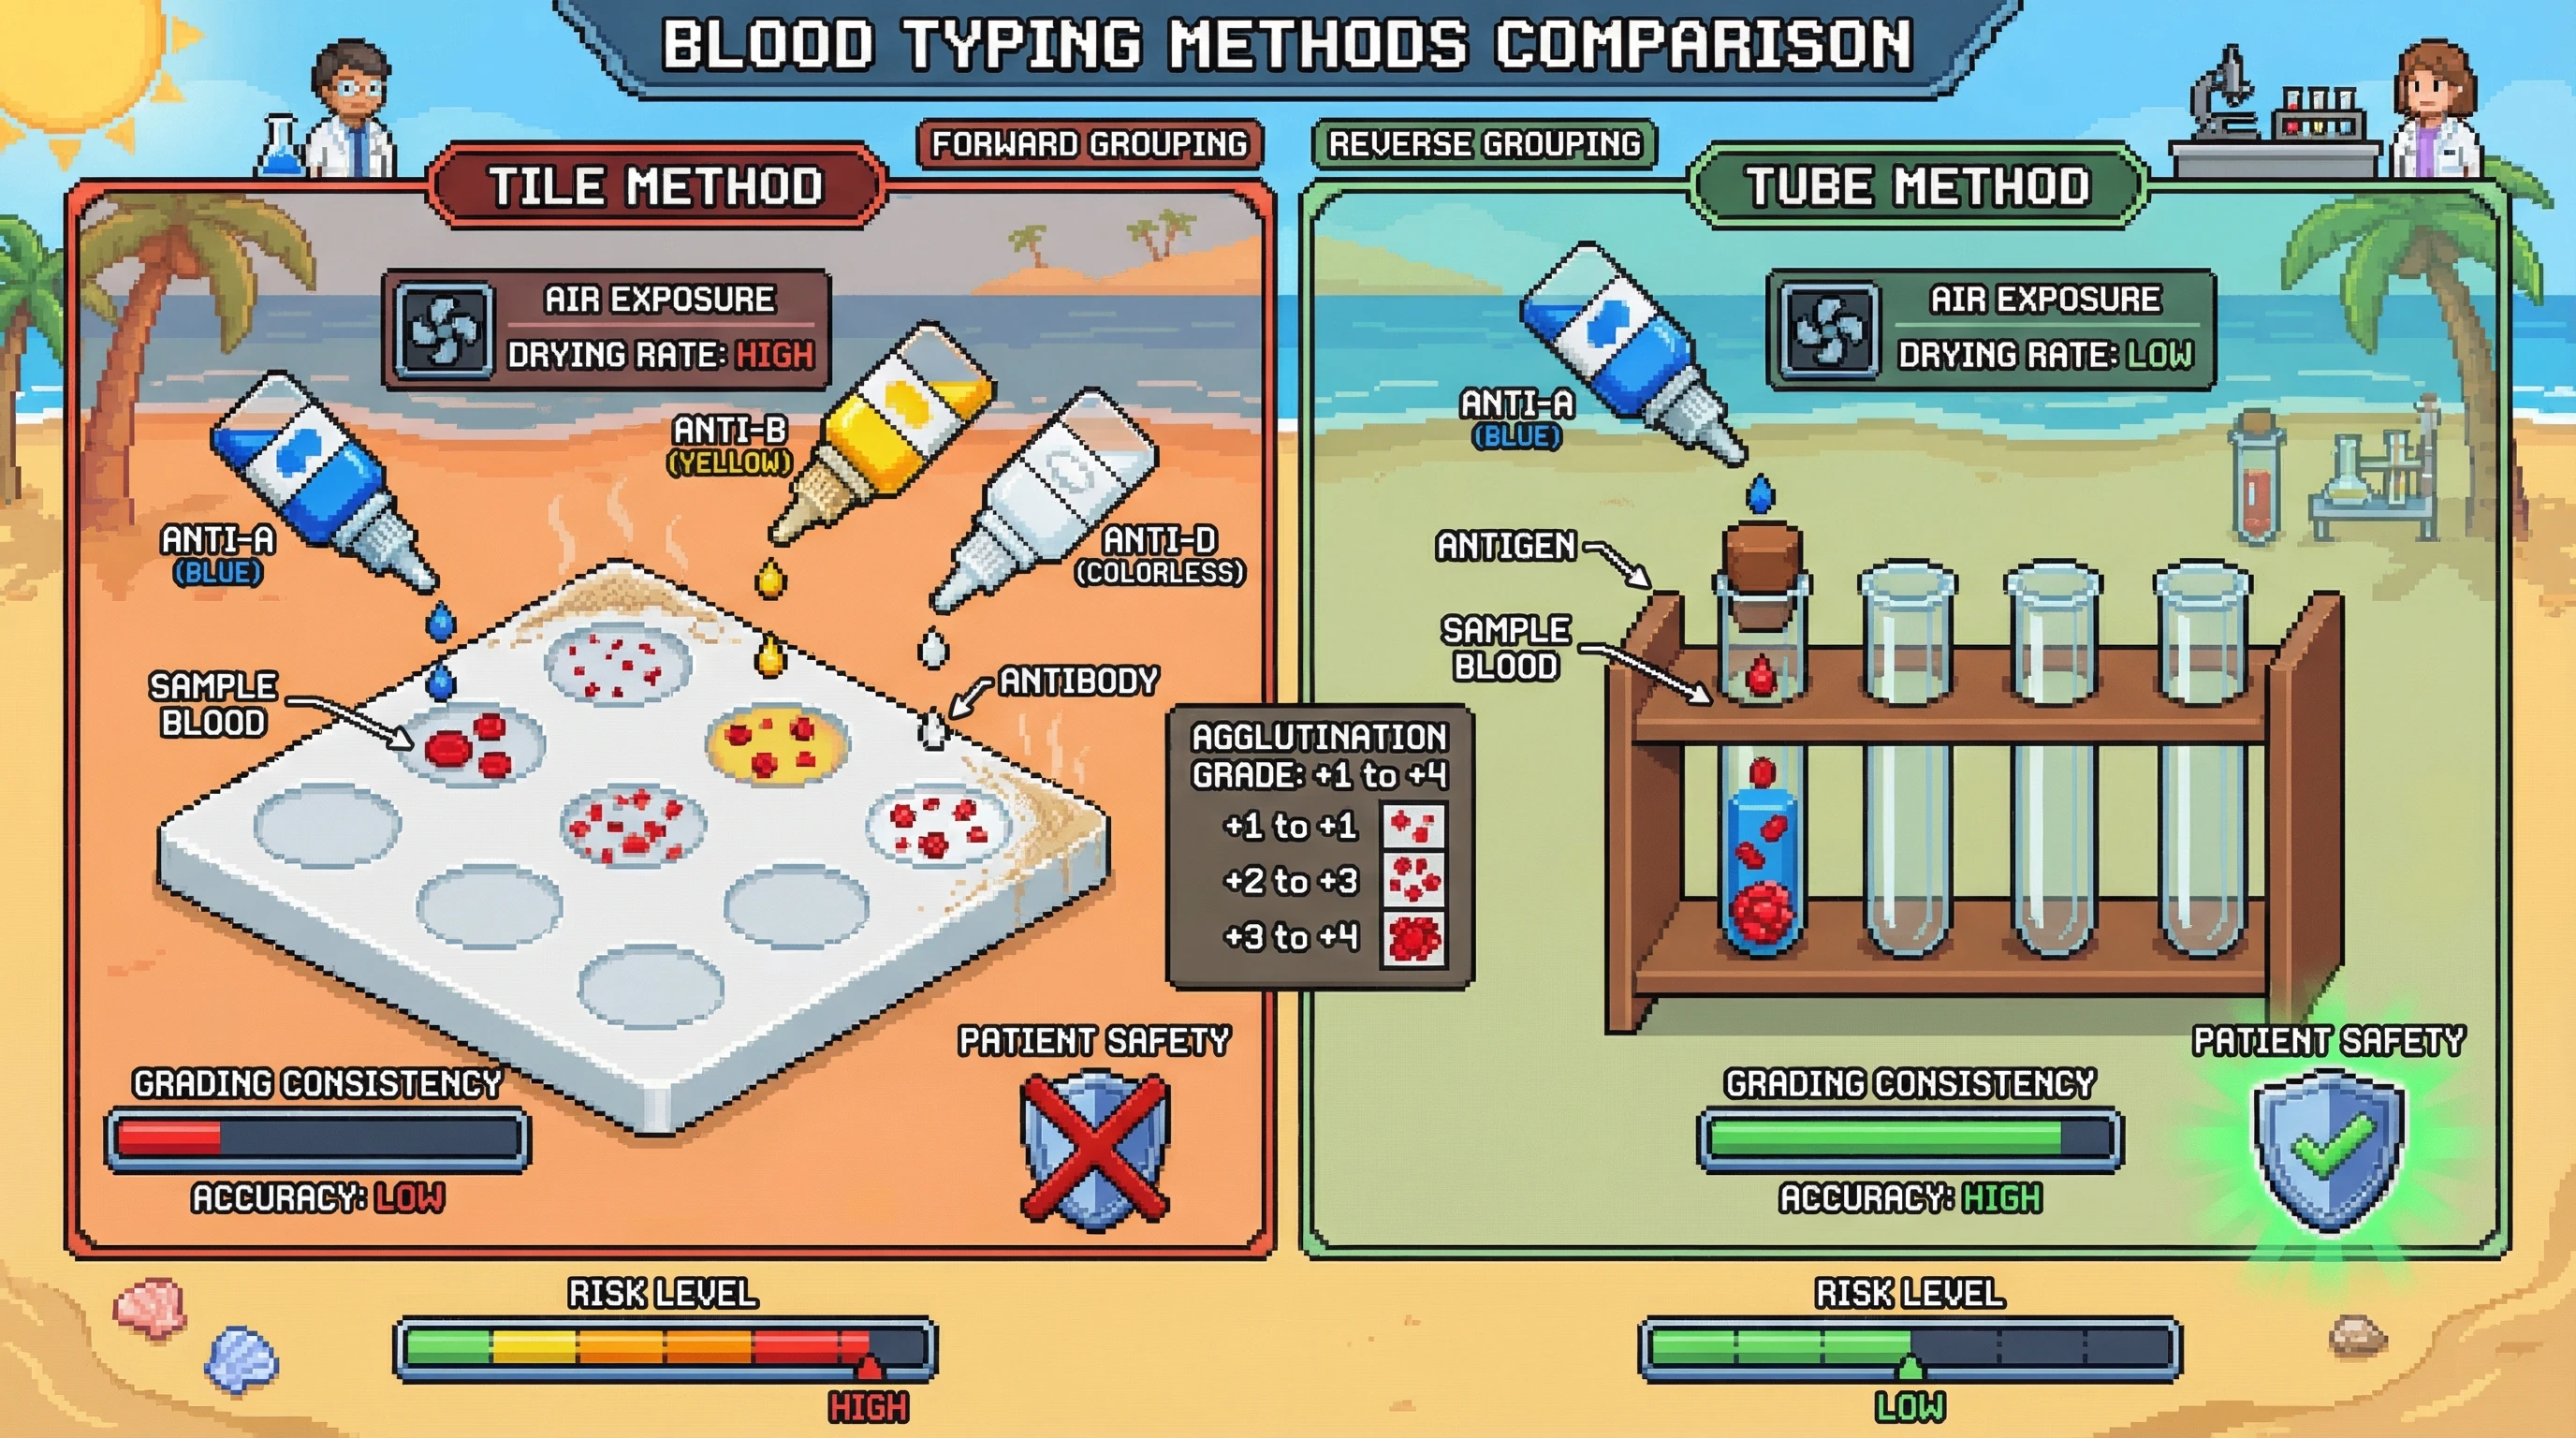
- Forward grouping (cell grouping): Known antisera detects unknown antigen.
- Reverse grouping (serum grouping): Known antigen detects unknown antibody.
- Tile method: 2 drops antisera + 1 drop blood sample.
- Wash with normal saline to remove unwanted antibodies.
- Antisera colors: Anti-A (blue), Anti-B (yellow), Anti-AB (colourless), Anti-D (colourless).
- After mixing and rocking the tile, grade agglutination: • 0 = no agglutination • +1 = weak reaction • +2 / +3 = moderate • +4 = complete agglutination
Observation: The tile method is quick and practical for our lab. The different antisera colors help us quickly identify which one is being used.
Hypothesis: The open tile method may lead to more inconsistent grading of weak reactions (+1 or +2) compared to the tube method because the mixture is exposed to air and dries faster.
Why it matters: Accurate blood grouping prevents dangerous transfusion reactions. In high-volume labs with limited equipment, even small inconsistencies in the tile method can affect patient safety.
I will keep observing this during my posting. Feedback welcome!